A star
This is one of the examples from Bret Victors demonstration. It especially demonstrates the concepts of using polygons, glomping and loops.
Here is the final result:
Just like with the bar chart we will make the drawing without absolute sizes but relative to the canvas.
Aspect ratio
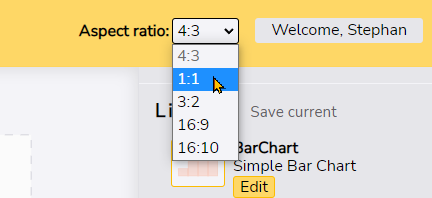
The aspect ratio of the drawing is not overly important for this drawing but a 1:1 aspect ratio is the most natural choice
A helper line for sweeping
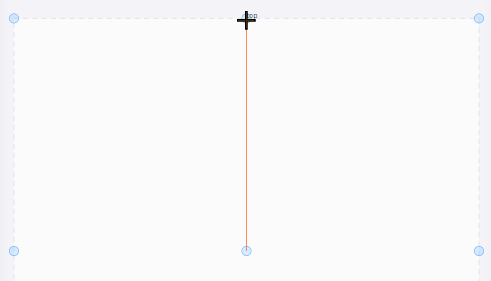
Draw a line (l) from thecenter of the canvas to it's top.
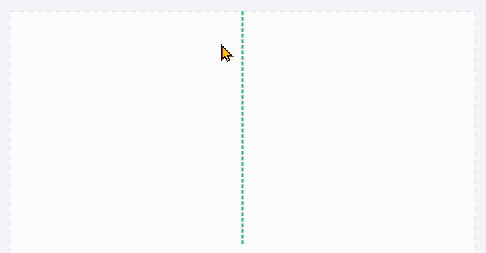
Turn this line into a guide (h).
Starting the polygon
Draw a polygon (p)with one point at the end of the line. Remember that you finish polygon drawing with a right click. This point defines the tip of the spokes.

Since the polygon only has one point, it will be represented with this symbol:

First rotation
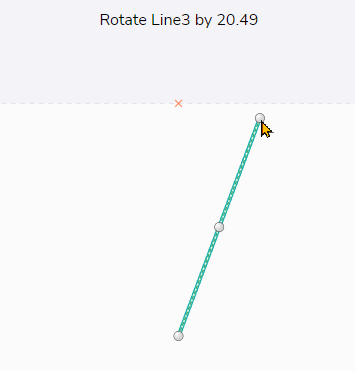
To create the star shape we need to rotate the line three times. Select the line (click) and rotate (r) it around its start point by grabbing the end. You can use an arbitrary angle. In a moment we will define the proper angle necessary to create the star shape.
Create a new data value by clicking the
 -button.
Double click
it and rename it to
spokes.
This will define how many spokes the star will have.
Create another data value and it and rename it to angle. We will use this value to compute the angle for our rotation based on the number of spokes. Rotation is done in degrees and since we need two rotations for one spoke we use the formula 180 / spokes
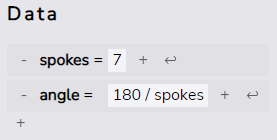
Now we can use the computed angle for the first rotations step. Select the rotation step
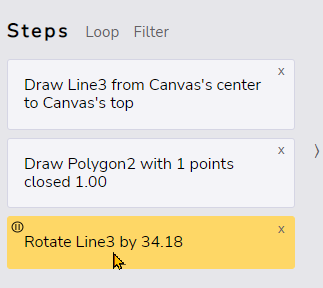
Next Drag the angle field onto the angle parameter of the step in the step editor

Second point of the polygon
Now we create the second point for the polygon by extending it. Using the polygon tool (p) while a polygon is selected will always extend the select polygon.
Select the polygon and hit extend it (p)
Now we use glomping to chose a point on our guide line. With the polygon tool still active select the glomp object (tab). Since there's only on other object, the guide line, the polygon tool is now restricted to points on this line.
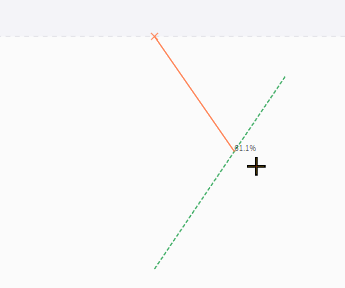
Choose an arbitrary point on the line by clicking left. Then end the polygon tool by clicking right.
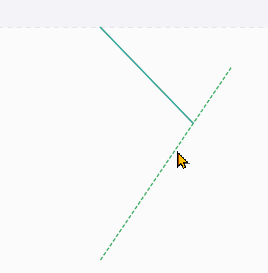
Now create a third data point, name it spoke ratio Make sure to use a value between 0 and 1. Then drag it onto the glomping ratio of the extend polygon step.

Second rotation
Now we do the second rotation of the guide line, again using our computed angle. Select (click) the guide line. Rotate (t) it by an arbitraty angle. Select the second rotation step and use our computed angle by dragging it onto the angle argument.
Looping
As the final step we now loop all but the first step. Select the steps 2 to 5 and click the
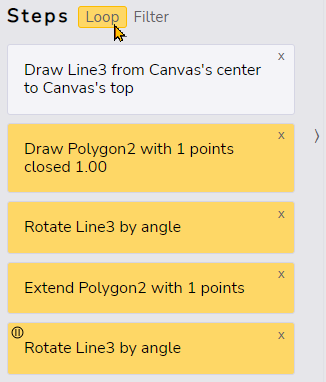
The default loop value is 4 so if you have set the value for spokes to four you'd already see a four spoked star. Otherwise the shape looks funny since the angle does not match the number of iterations. So let's fix that.
Select the Repeat-step and drag the spokes-field onto the number of iterations
We're done! A star that reacts to changes on the number of spokes and the spoke ratio.
